Wicker Shelf Upcycle DIY
Before I became a mom and self proclaimed “plant lady”, our screened in porch didn’t get much use. Florida can be oppressively hot in the summer months so we typically avoided being outside most of the year. As I’m sure is the case with many of us, quarantine has also given us more reason to use our outdoor space. Over the past few months, however, my plant collection has exploded to the point that we were literally tripping over them when we used the porch. I knew they needed a better home out there, so I casually searched for plant stands week after week, but nothing was jumping out at me. I wanted something that was going to look as good as it functioned, but that proved to be a difficult task.
I came across a few arched wicker shelves on OfferUp, but was too late to score any of them. This happened 3 times until one morning I decided to check again. Low and behold, there was a listing for not one, but TWO arched wicker shelves! What was even better than that was the price tag: $75 for the pair! I knew better than to try and haggle with the seller so that afternoon, the shelves were mine.
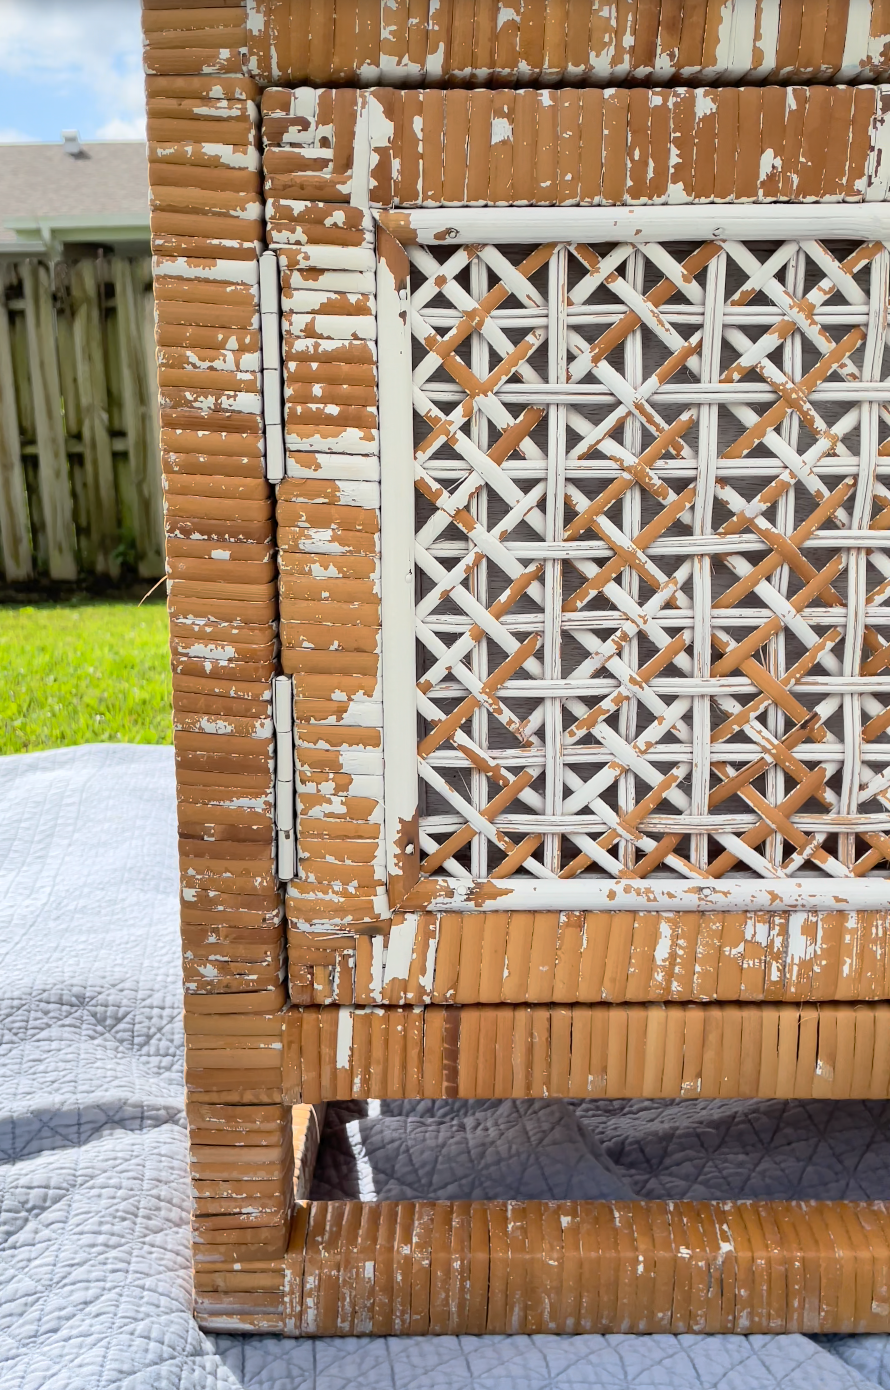
Now I had to decide: do I paint them or strip them? Before making any decisions, I hosed them down as they were covered in cat hair and dust (I can tell you exactly what color the previous owner’s cat was, that’s how much hair was in the corners of these things). The paint started to come off easily with water and I began to think it might be easy to strip them, but boy am I relieved I didn’t end up trying that! I’m sure stripping wicker can be done, but the amount of time it would’ve taken to remove the paint from every nook and cranny would have been too much for me. I decided pretty quickly that spray painting them was the best solution.
Before I could paint, I had to remove as much of the chipping white paint as I could so the new paint could adhere properly. To do this, I tried a number of things:
Hard bristled brush: This worked well for general clean up, but it would have taken forever to remove enough paint to properly prep the wicker.
Pressure washer: This worked great! Just be careful you don’t use too much pressure to avoid damaging the wicker. It was extremely messy, however, so be sure to do this somewhere you don’t mind paint chips flying all over.
Wire brush: This was surprisingly my favorite way to remove the old paint. It was time consuming, but seemed to be the most effective. I would not recommend this method if you’re hoping to preserve the wicker though because it did scratch it up a bit.
After removing the chippy paint, I vaccumed everything to remove excess debris. If you’ve pressure washed your wicker, make sure you allow adequate time for it to dry before painting. I found that I couldn’t get the paint to stop chipping when the shelves were wet and the wicker was more pliable.
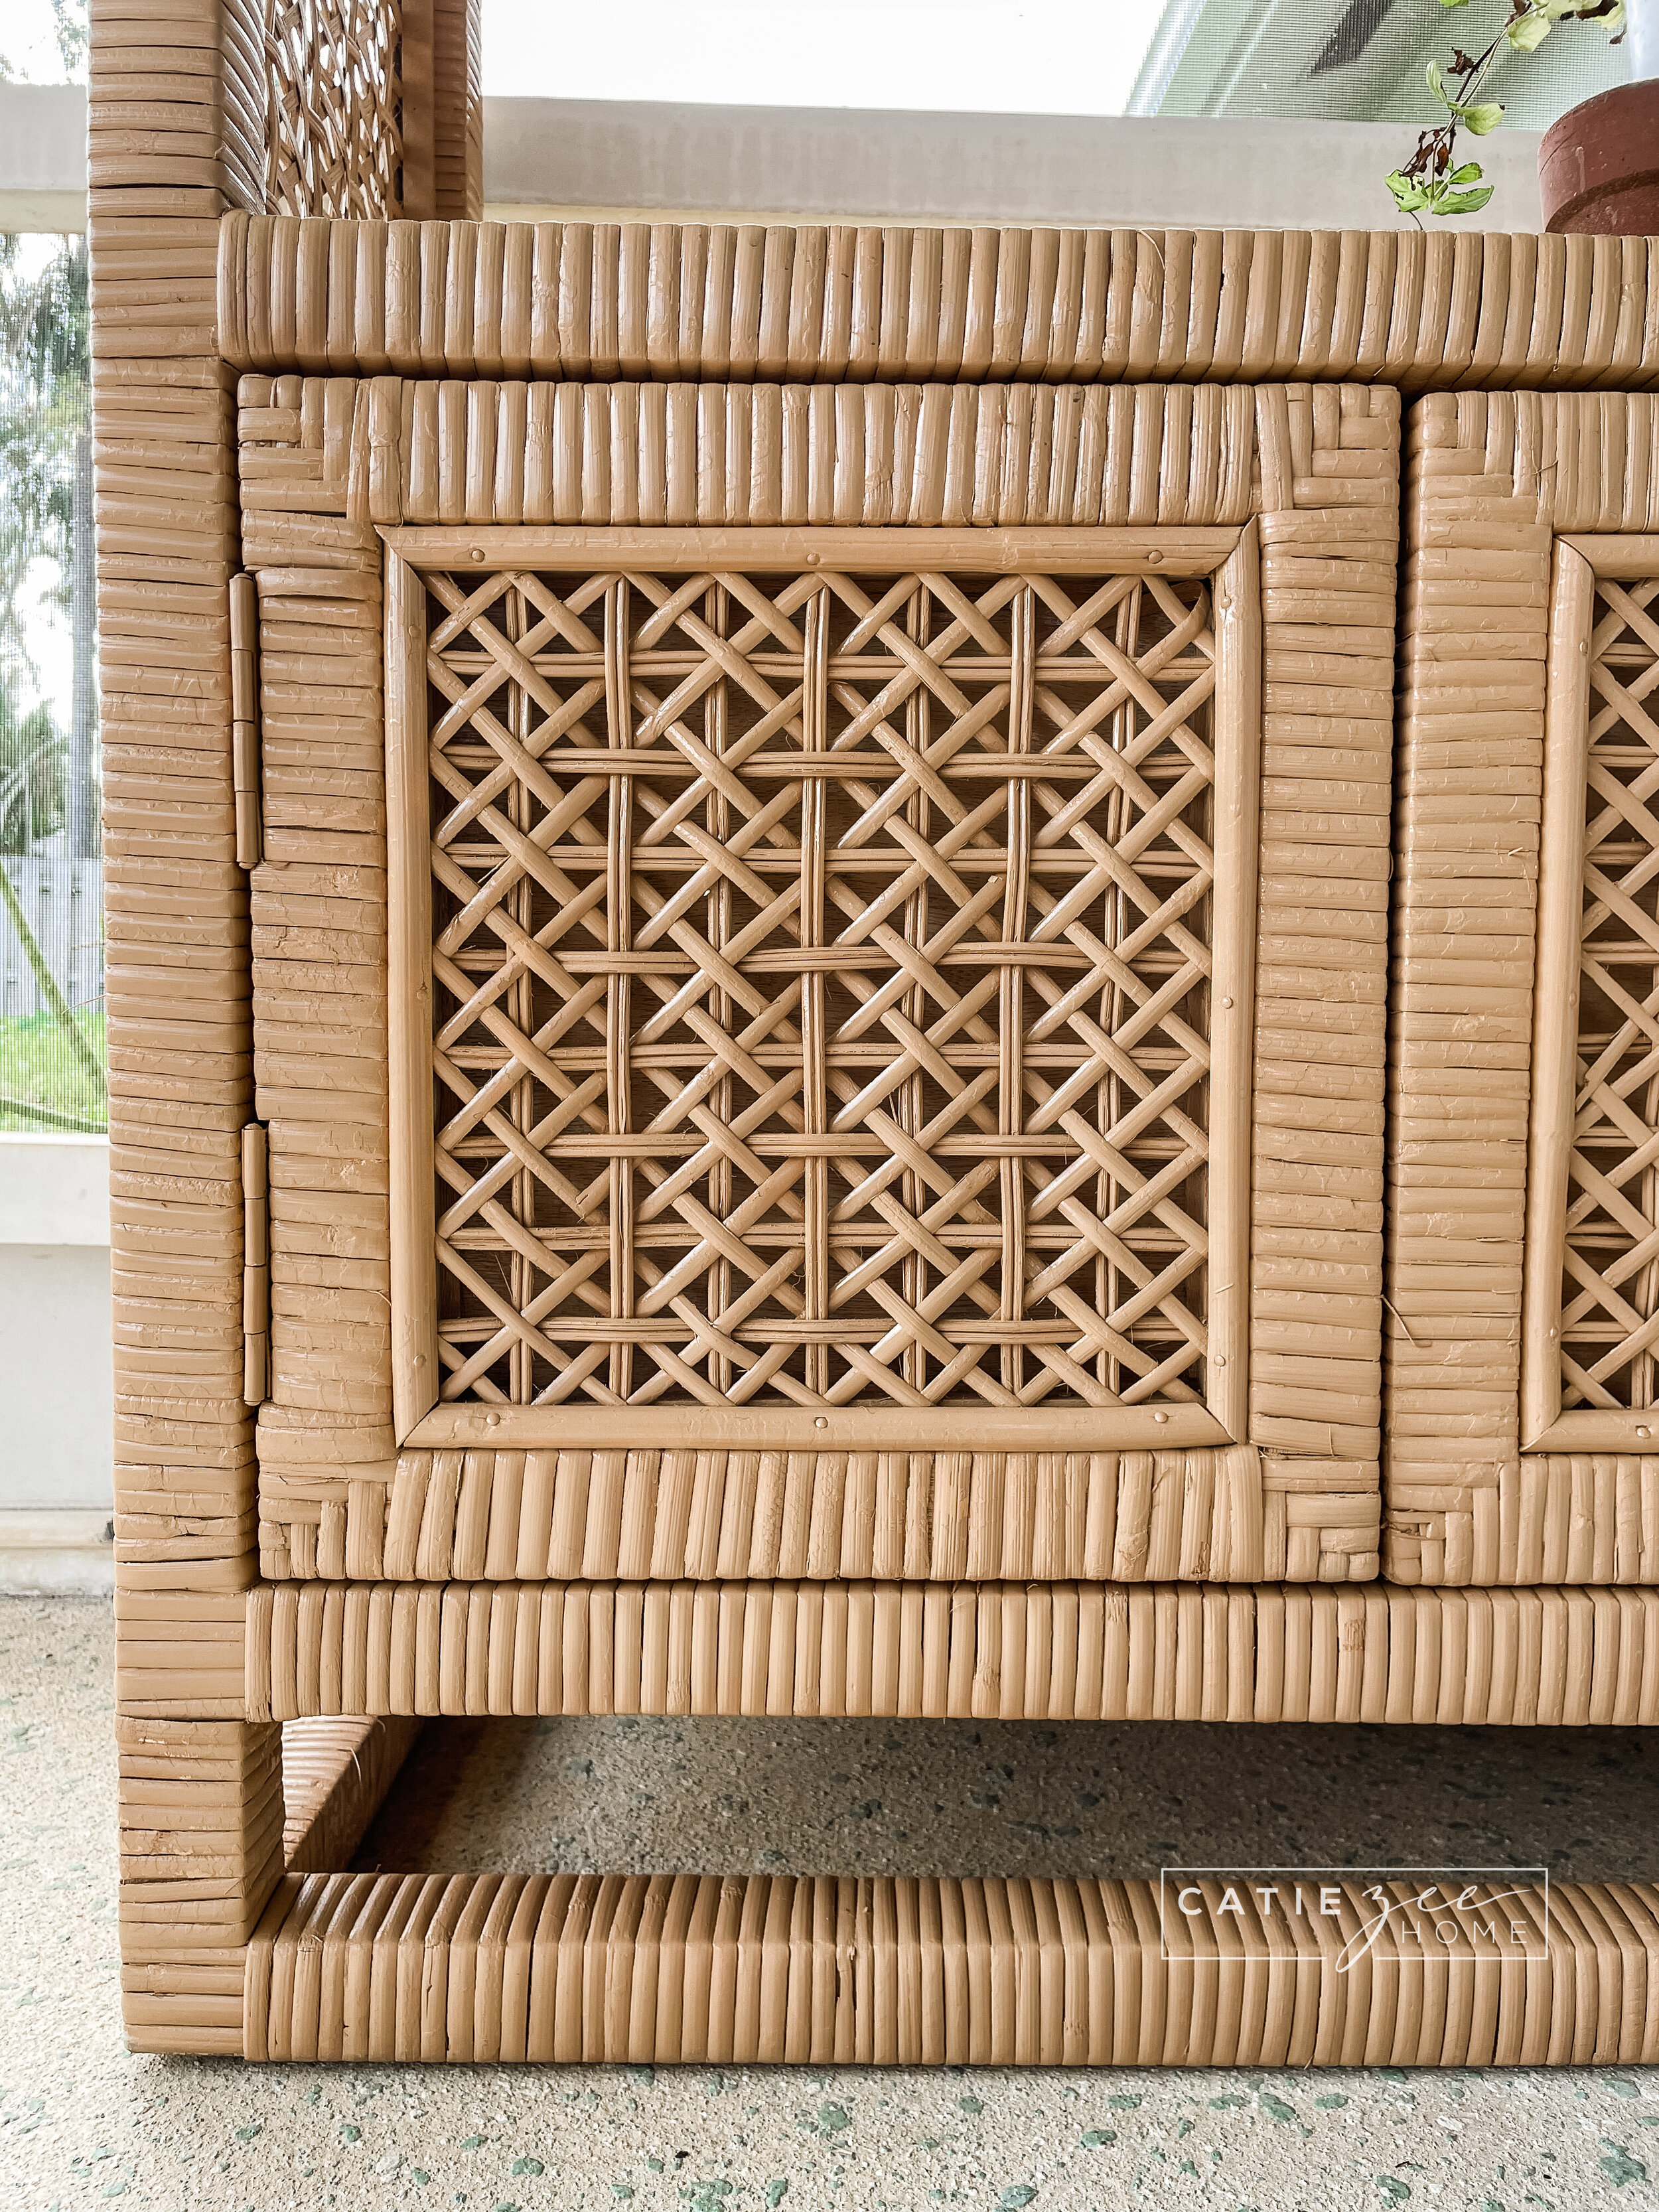
For paint, I settled on Rustoleum 2X in the color Khaki, which looked closest to the natural wicker color I was hoping to restore. This color ended up being spot on, and the coverage was fantastic. I would say it covered pretty perfectly after 1 coat, as well. I ended up using 3 cans per shelf.
This was the end result! I am in love with the way it came out. It adds just the right about of warmth to the porch and gives my plants a beautiful place to thrive! I also love that it came with glass shelves so sun can still get to everything, and now I even have a few places to store my pots, fertilizer, etc.


