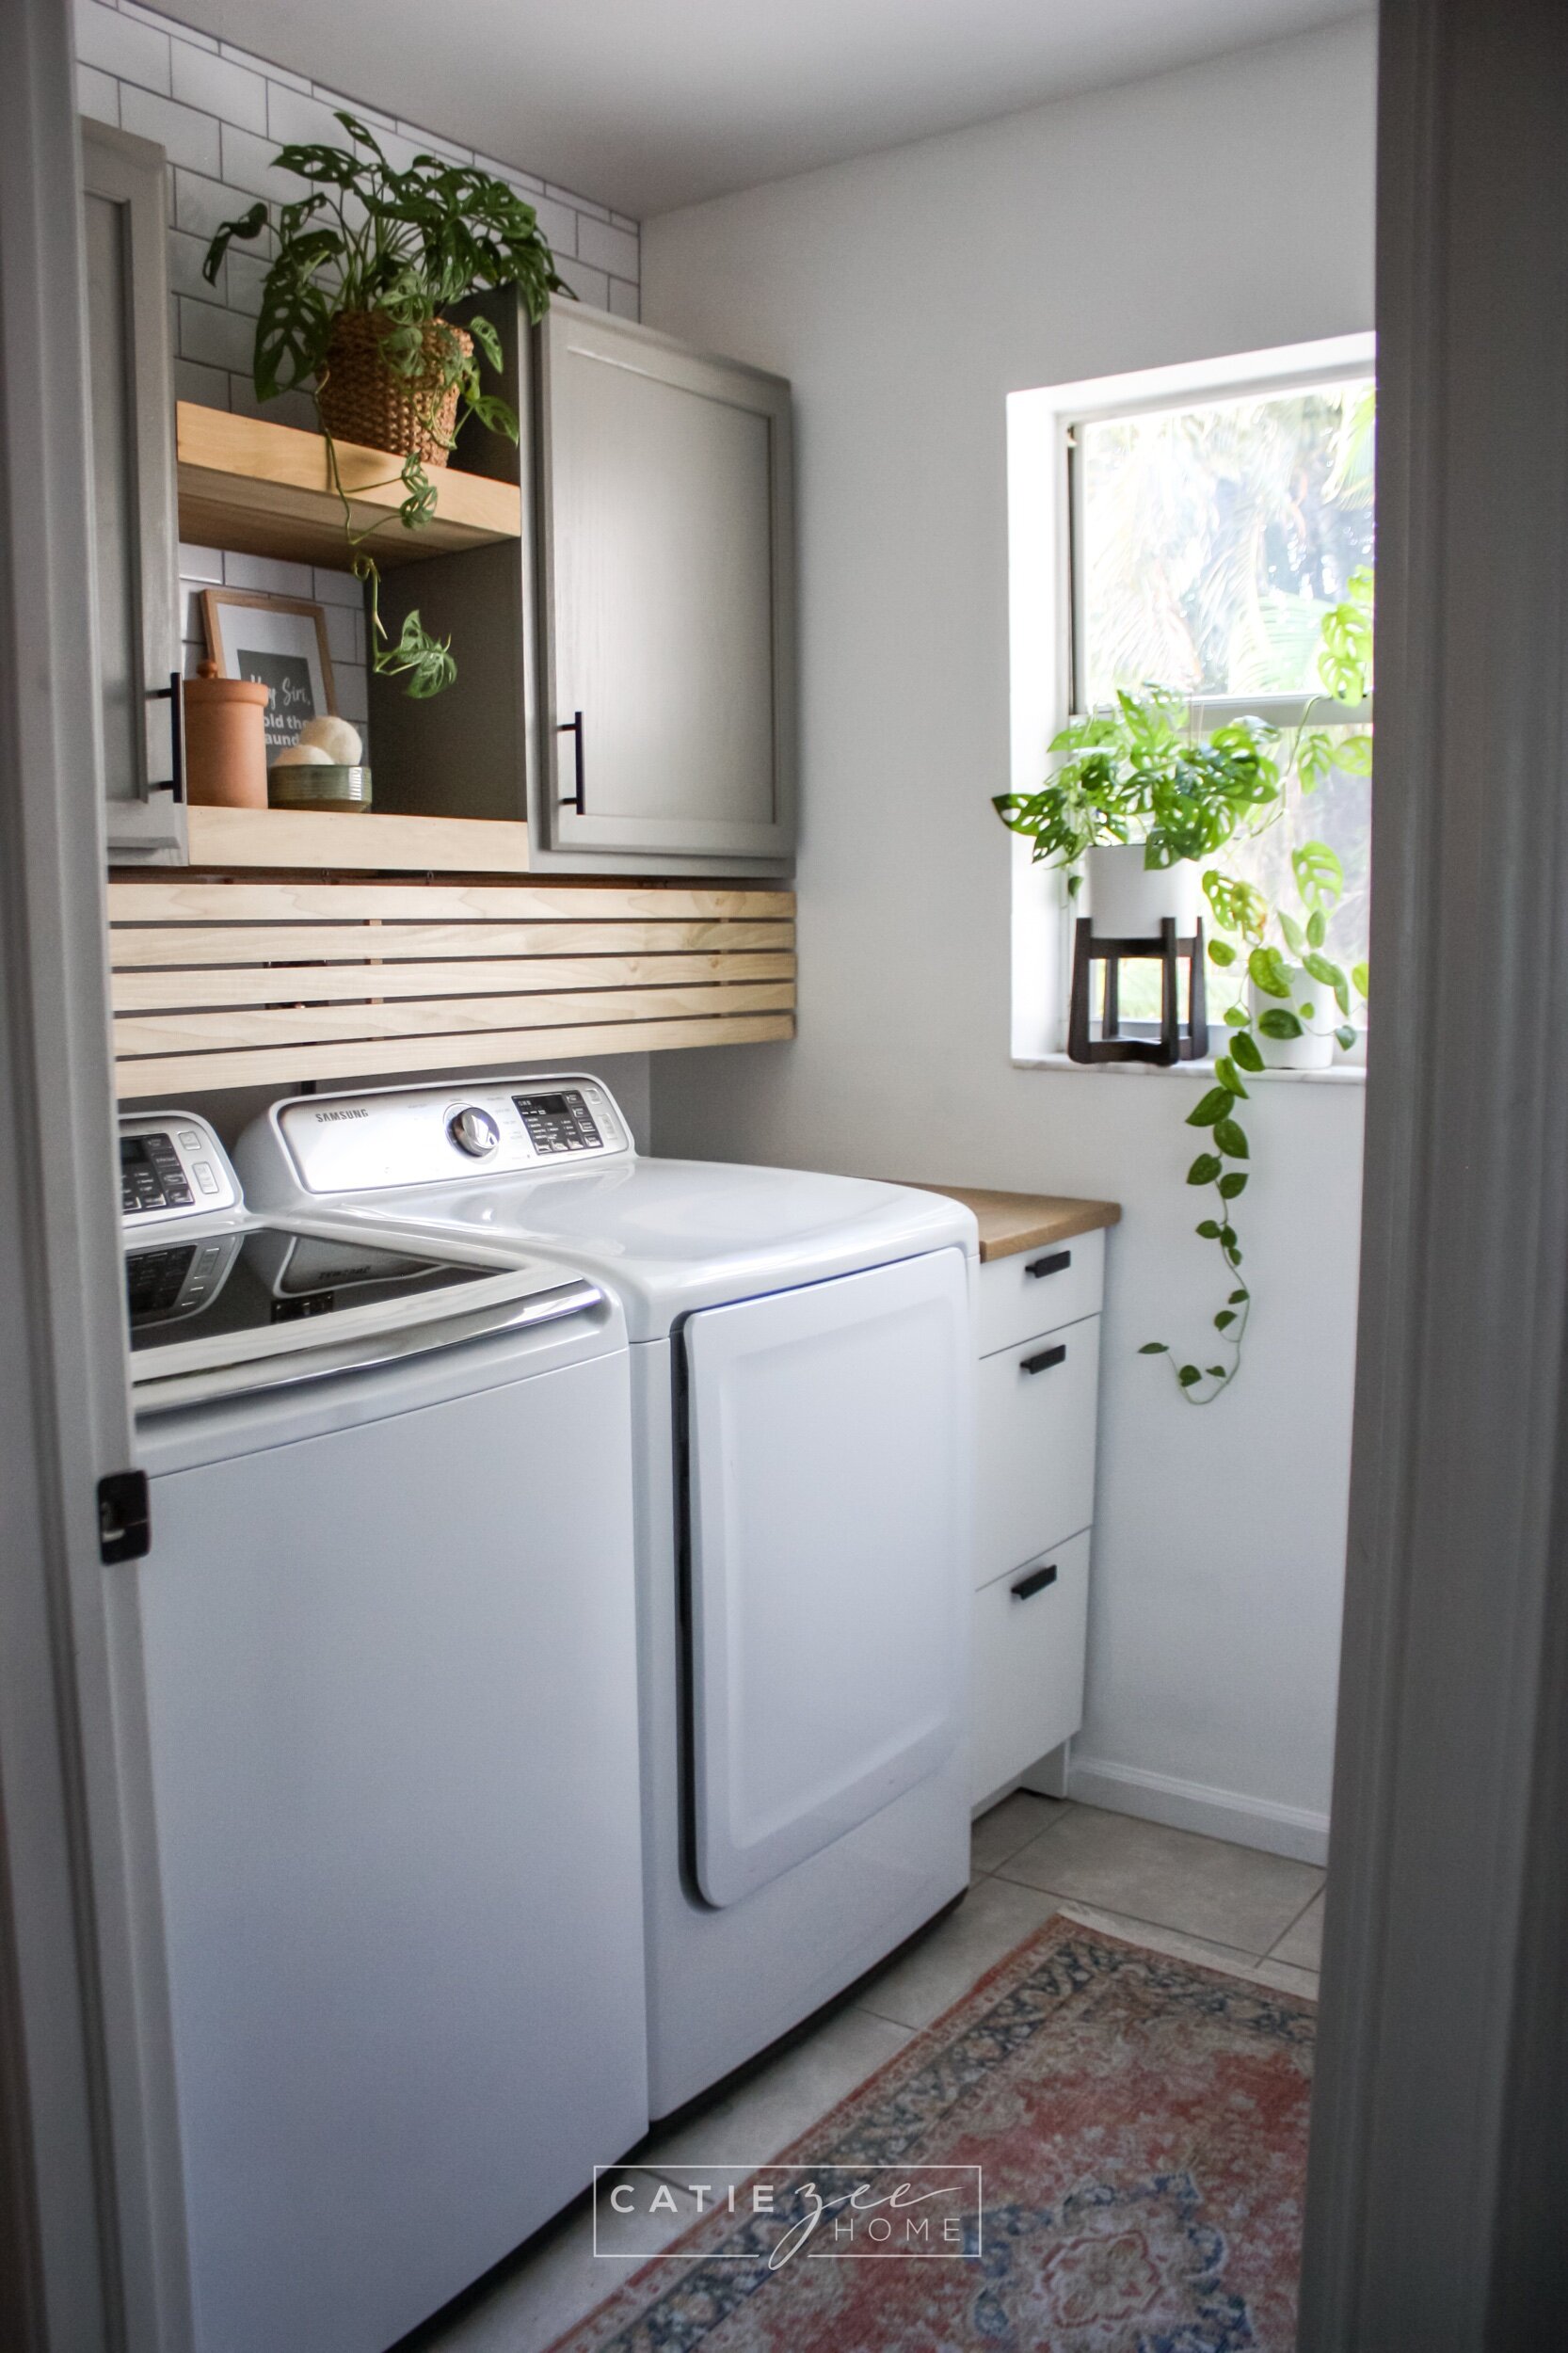
The Laundry Room Reveal!
Oh my gosh, I thought this day might never come! I was in a total room rut with this one for months. I had zero motivation to finish it after tiling the back wall. Don’t get me wrong, I love to DIY. I learned so much about tiling, and it honestly went better than I could have ever expected, but my back was ANGRY by the end of it!
Also, does anyone else get an idea in their head but when it comes time to execute it, you freeze because you don’t know exactly how to go about it? And then you simmer with that idea for a month or two until one day - EUREKA! That’s how this room went, specifically the slats covering the hook ups… and the shelves.
Let’s take a look at where this room started:
Before
Yep… those shelves were literally falling off the wall. Everything was out in the open - there was no hiding the mess. I don’t know if any of you remember me sharing that my husband, Joe, plays Dungeons & Dragons in the laundry room… but THIS IS WHERE HE WAS PLAYING. I don’t know how he could stand it, so I made a plan to change things:
Some of the details have changed since this mood board (the gold hardware became black.. surprise, surprise) but I think the essence remains intact. I knew I wanted upper cabinets and shelves in between for easy access to things - and plants. This room gets some of the best light in the entire house, so of course I had to make space for the plants! I was thrilled to find a rug similar to the vintage one in the mood board at HomeGoods, which saved me so much money. It pulls the perfect terra cotta color and coordinates with the terra cotta cannister I thrifted for the space a while back.
Cabinets
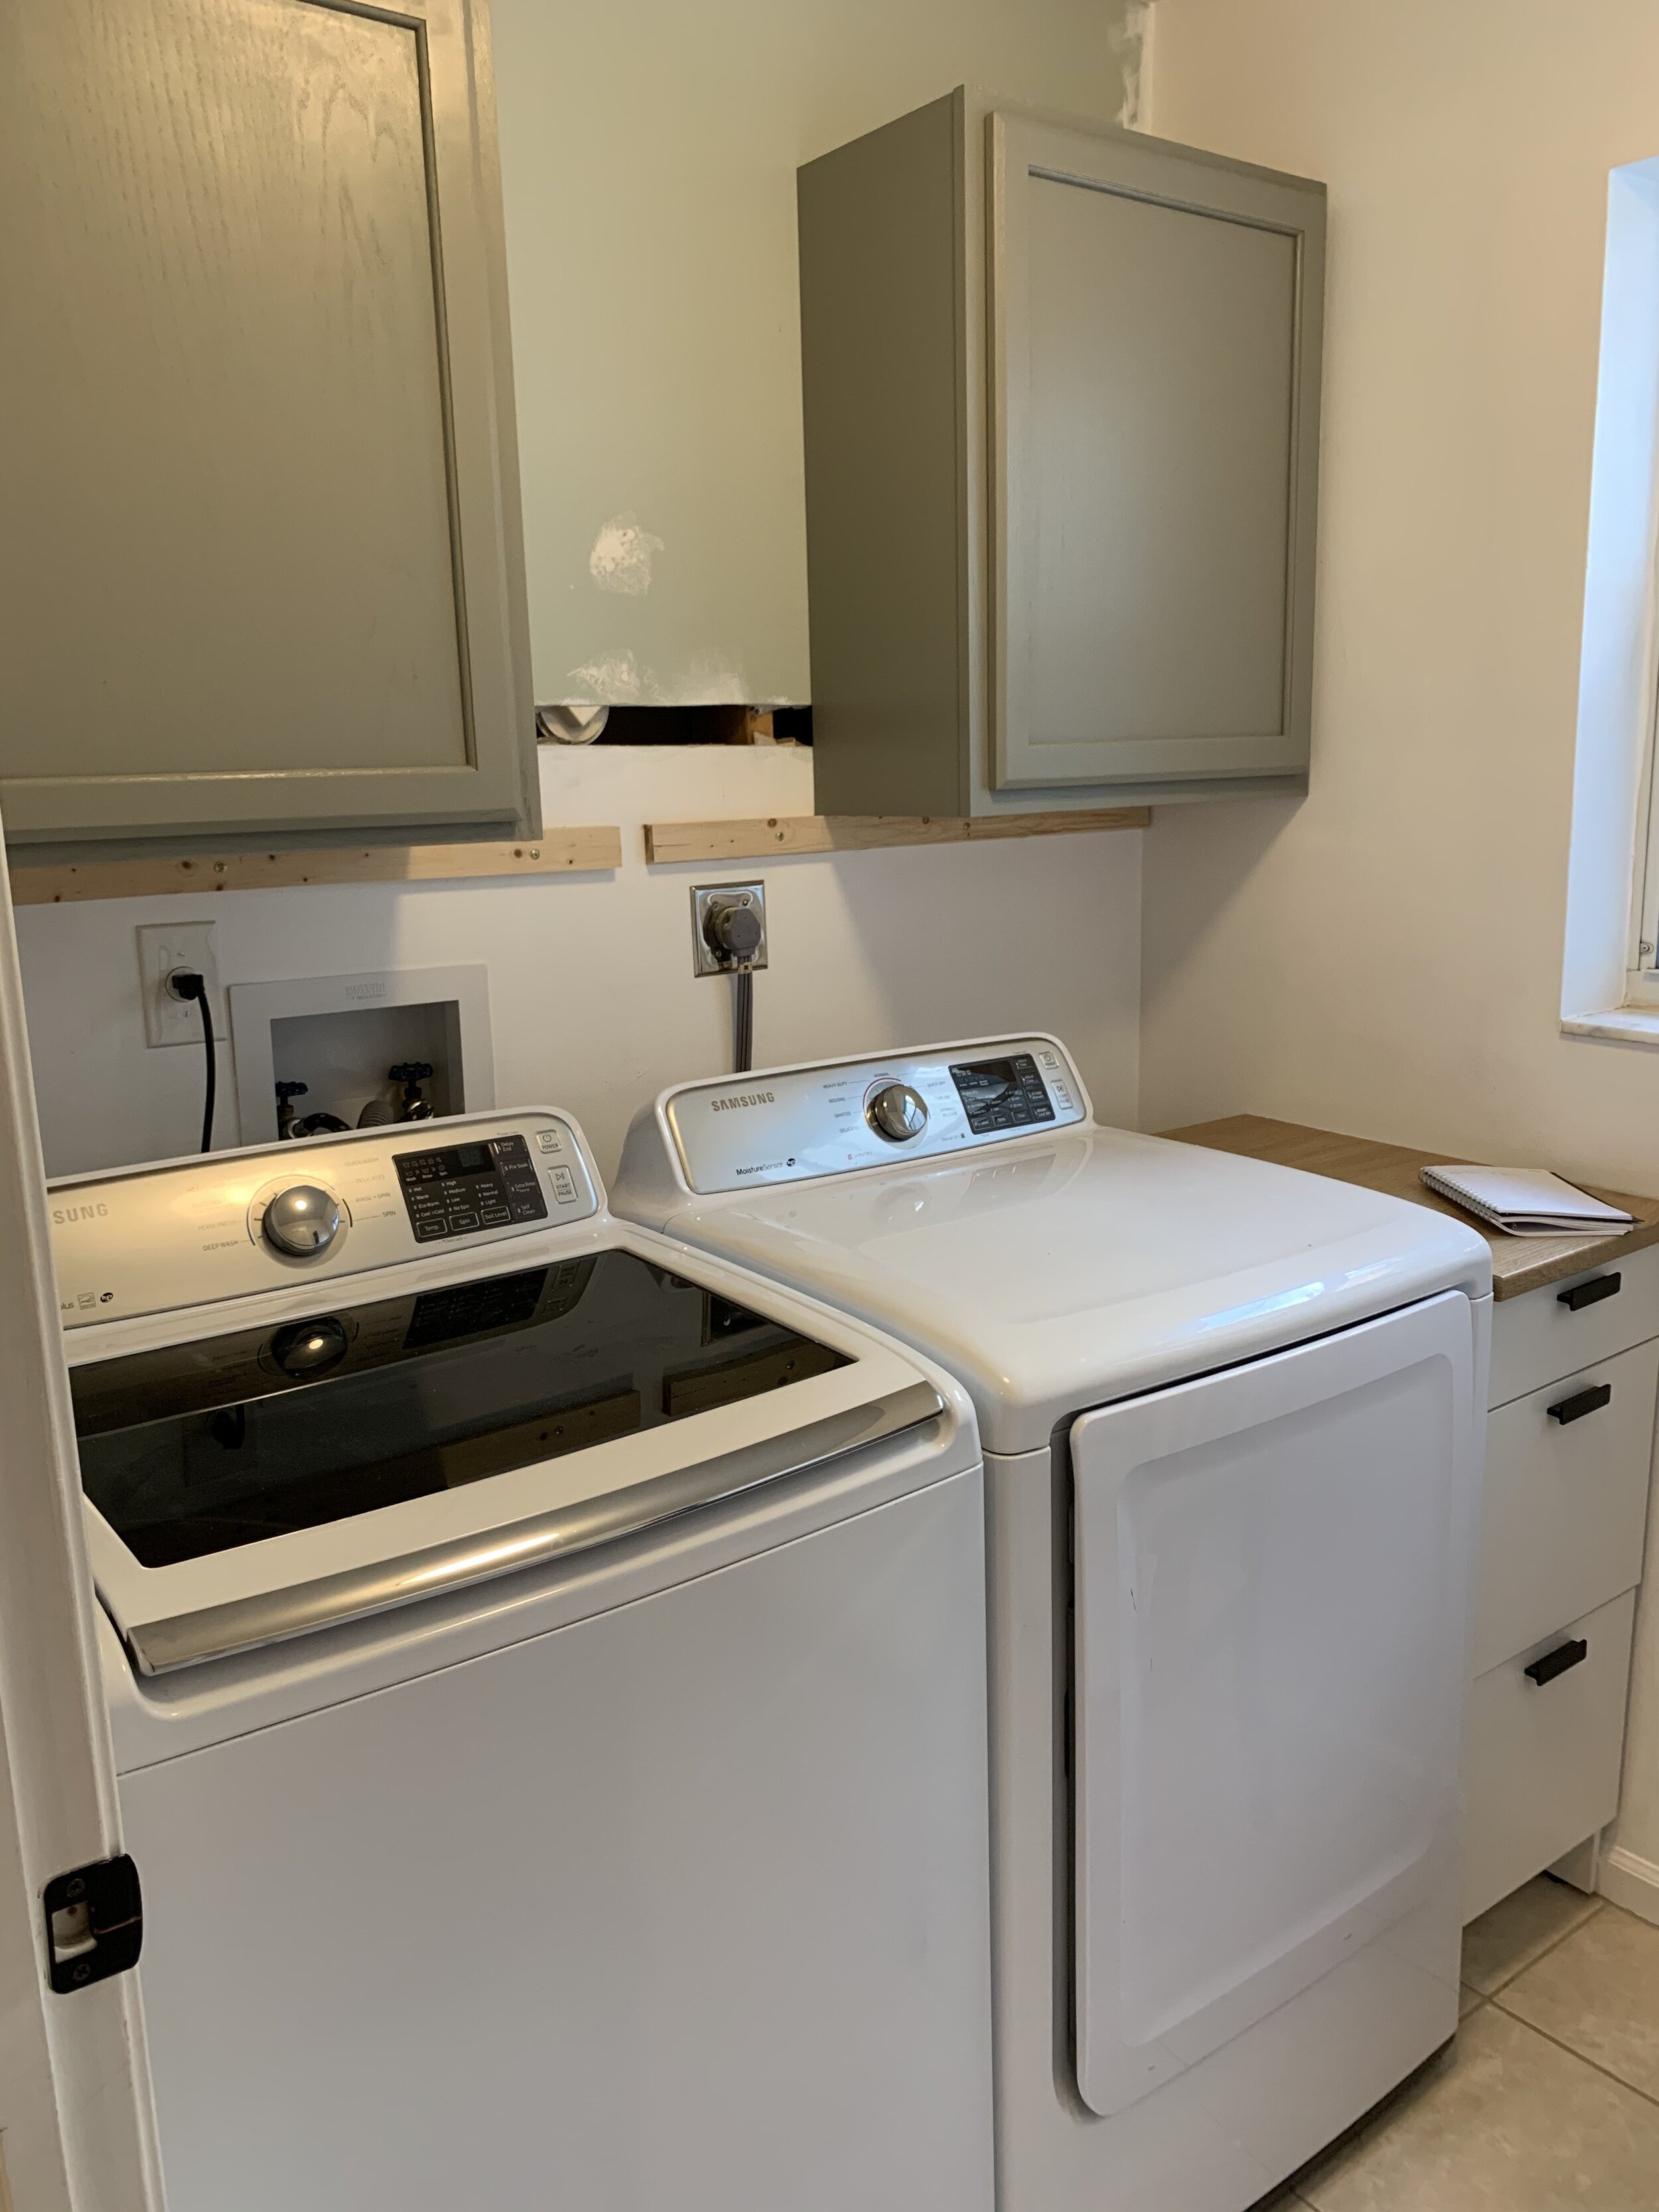

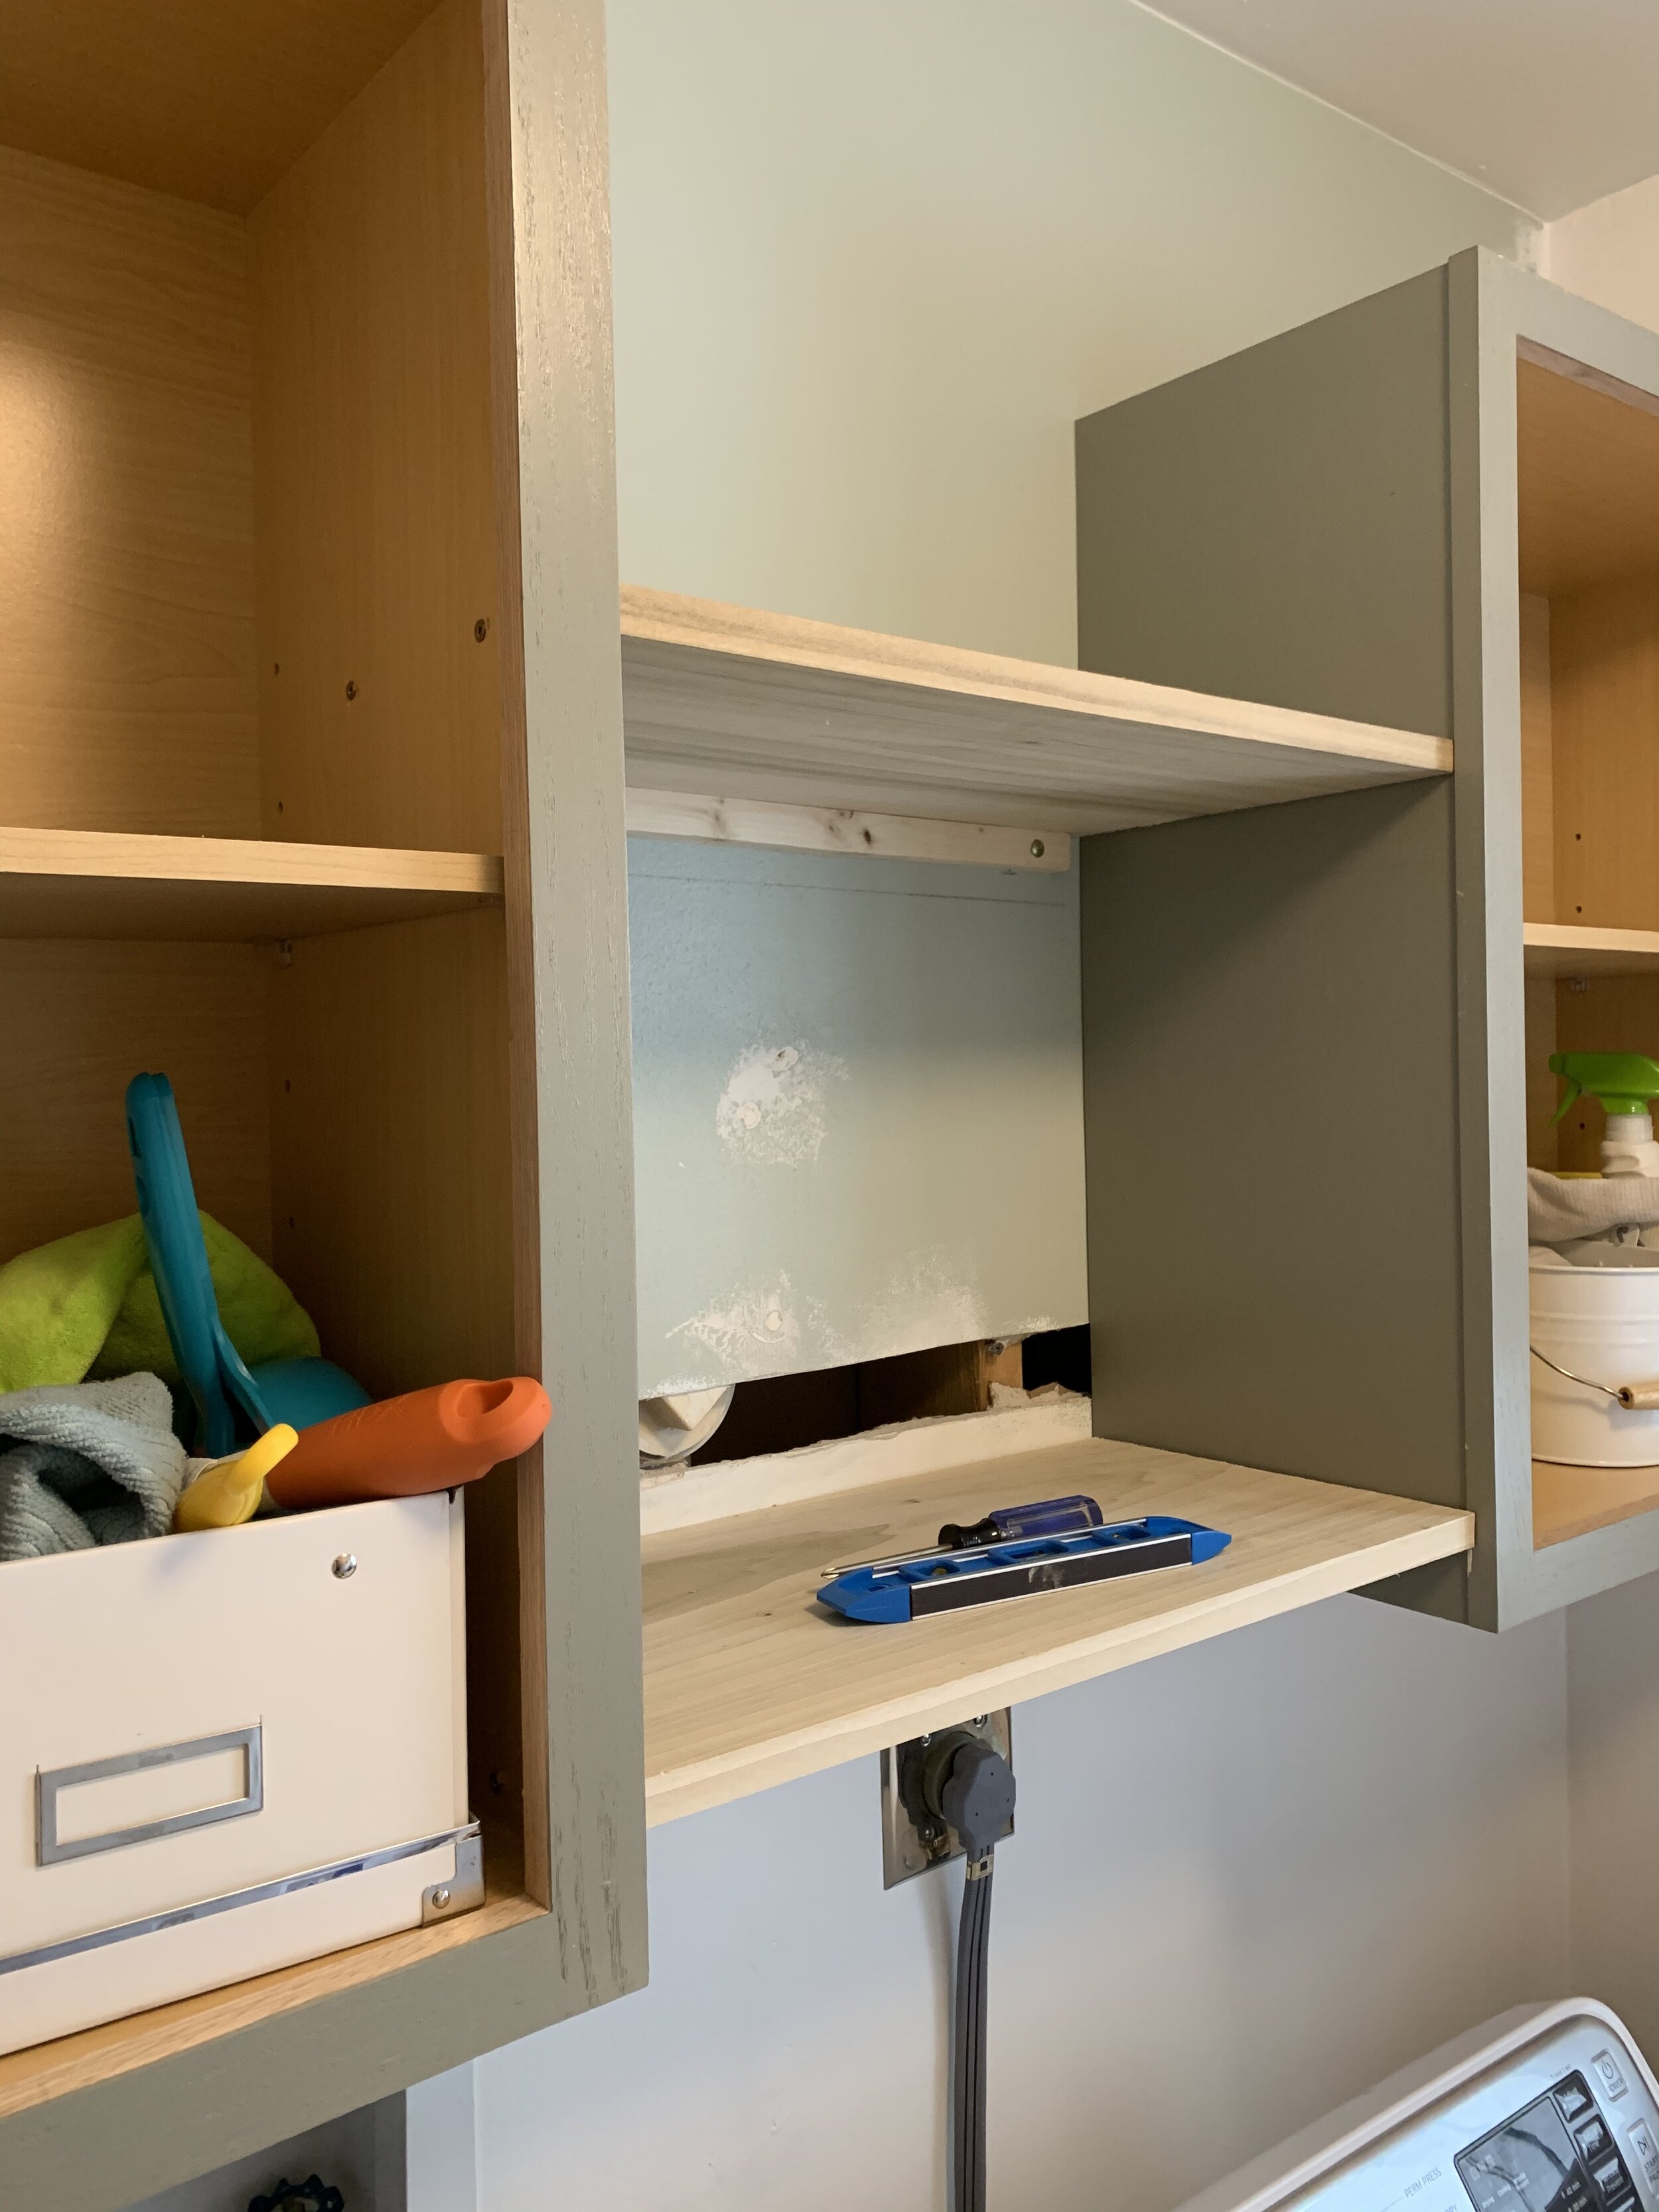
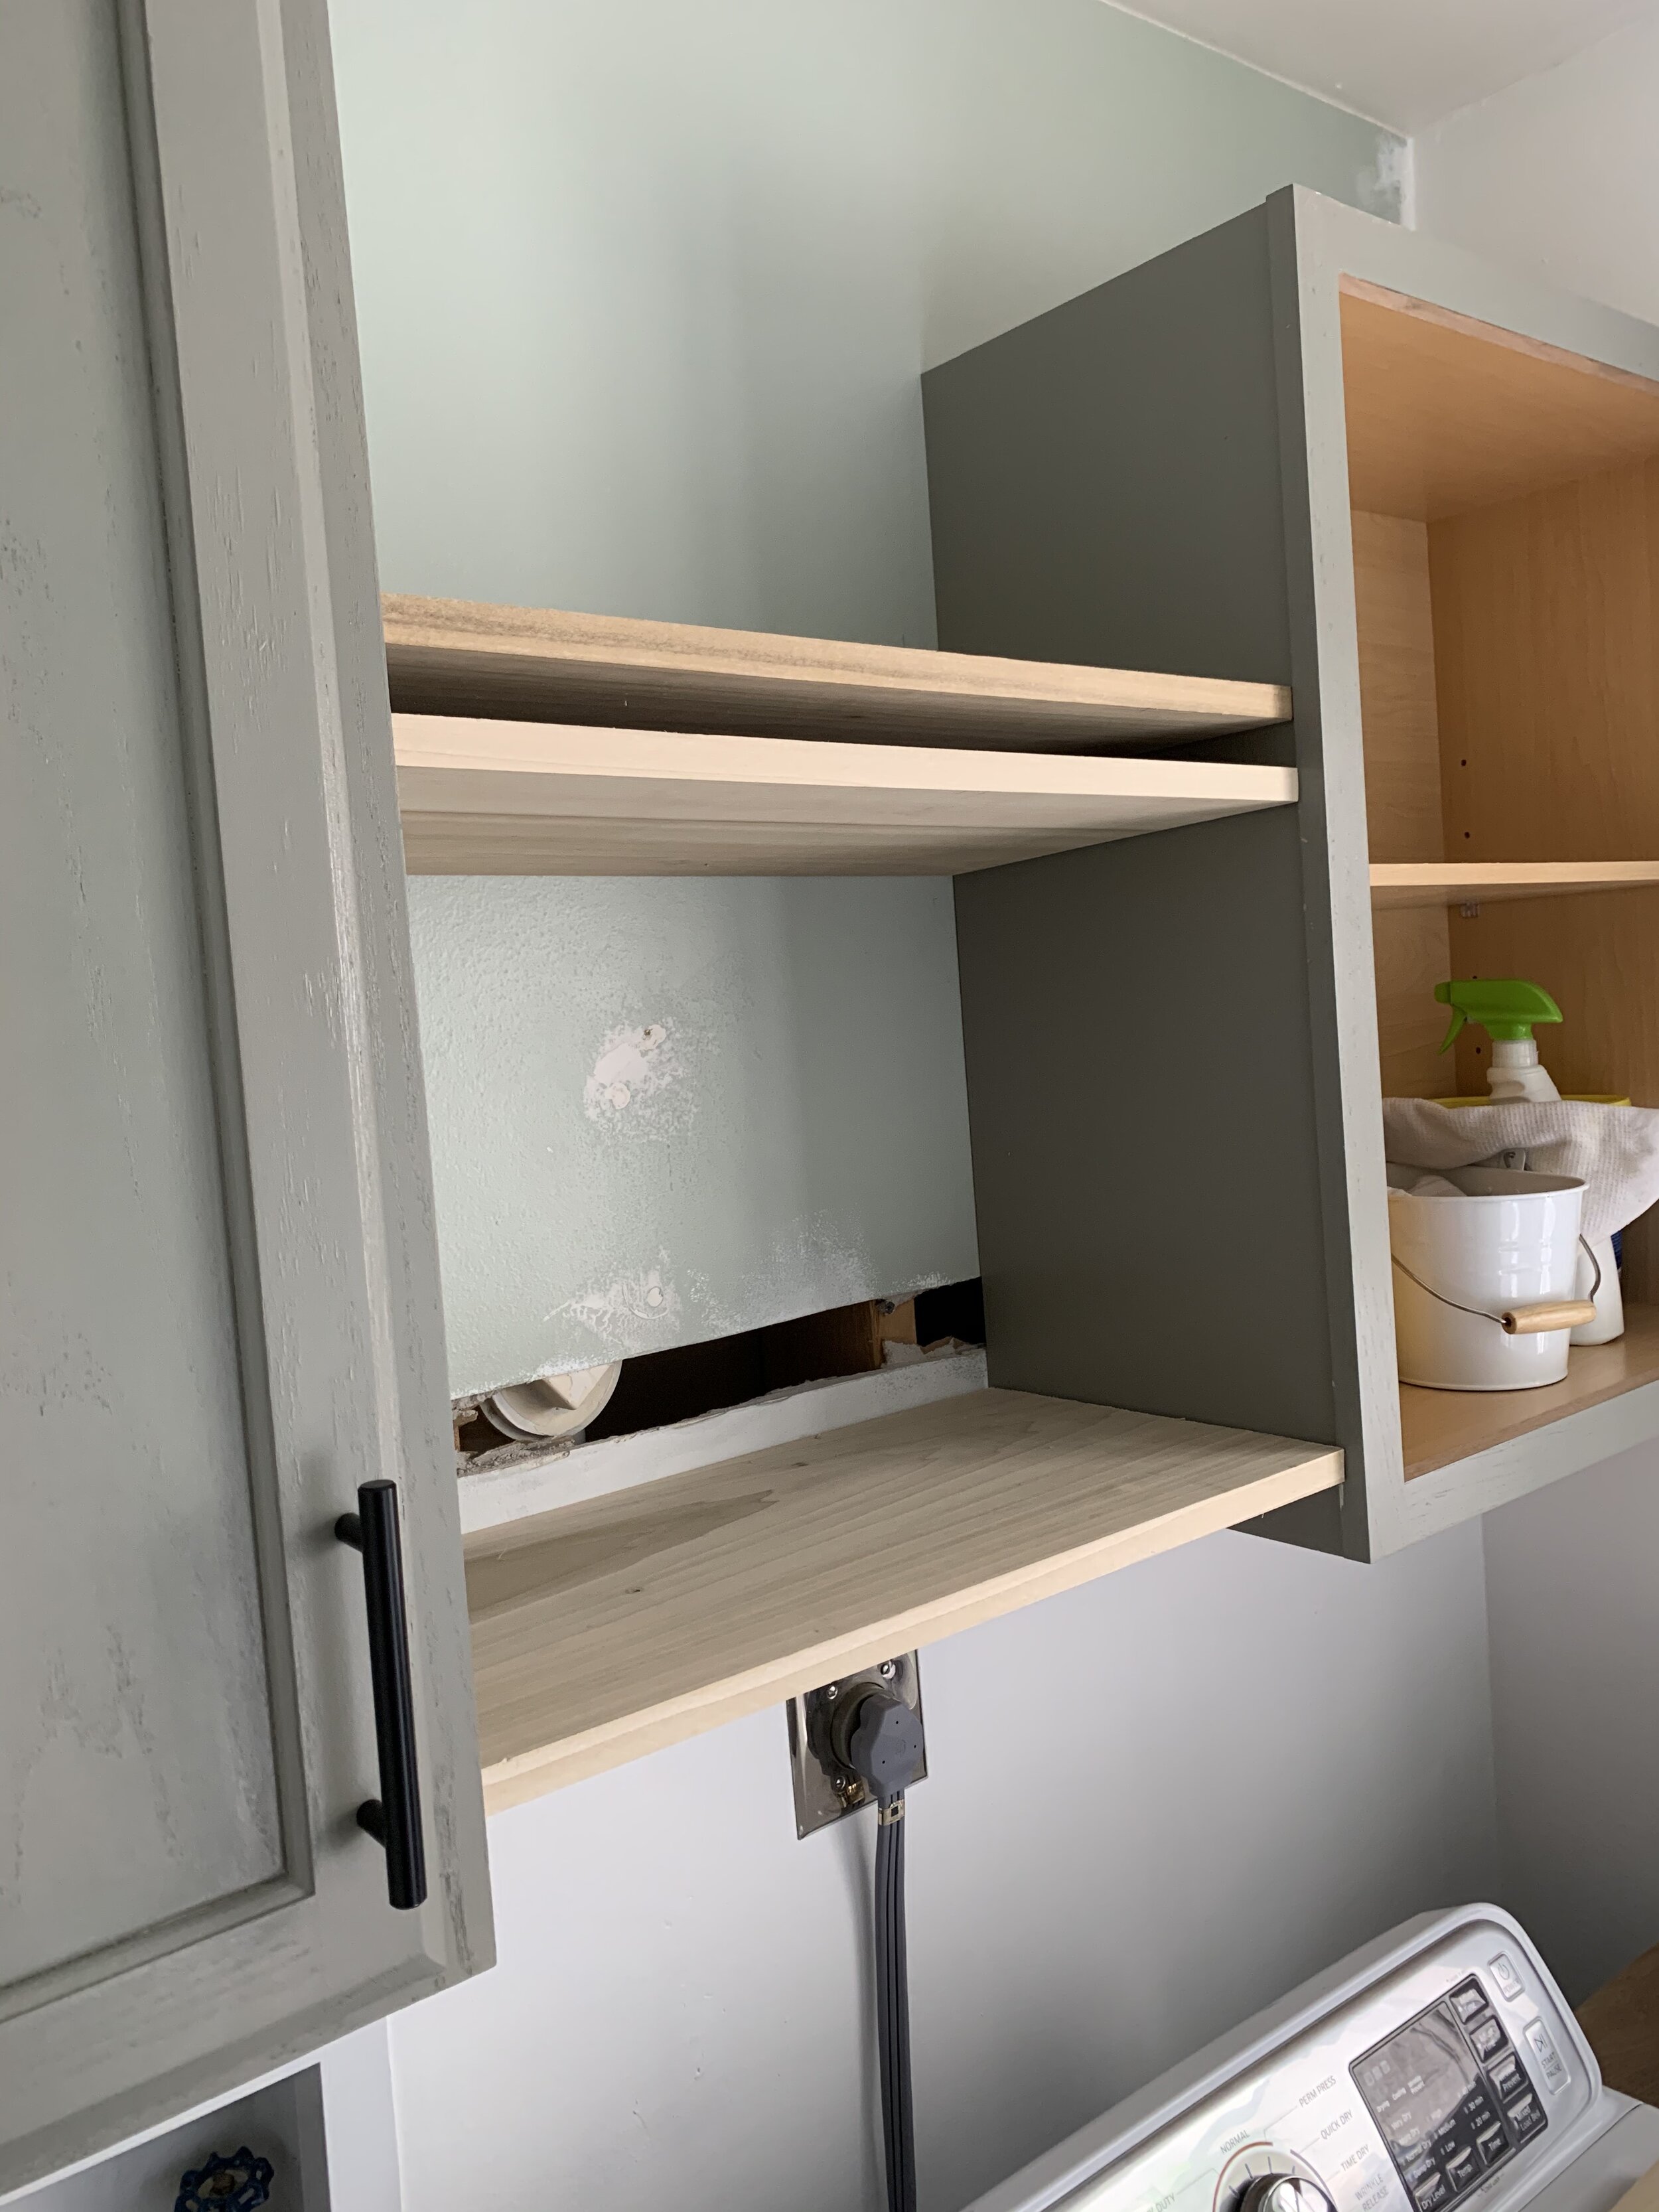
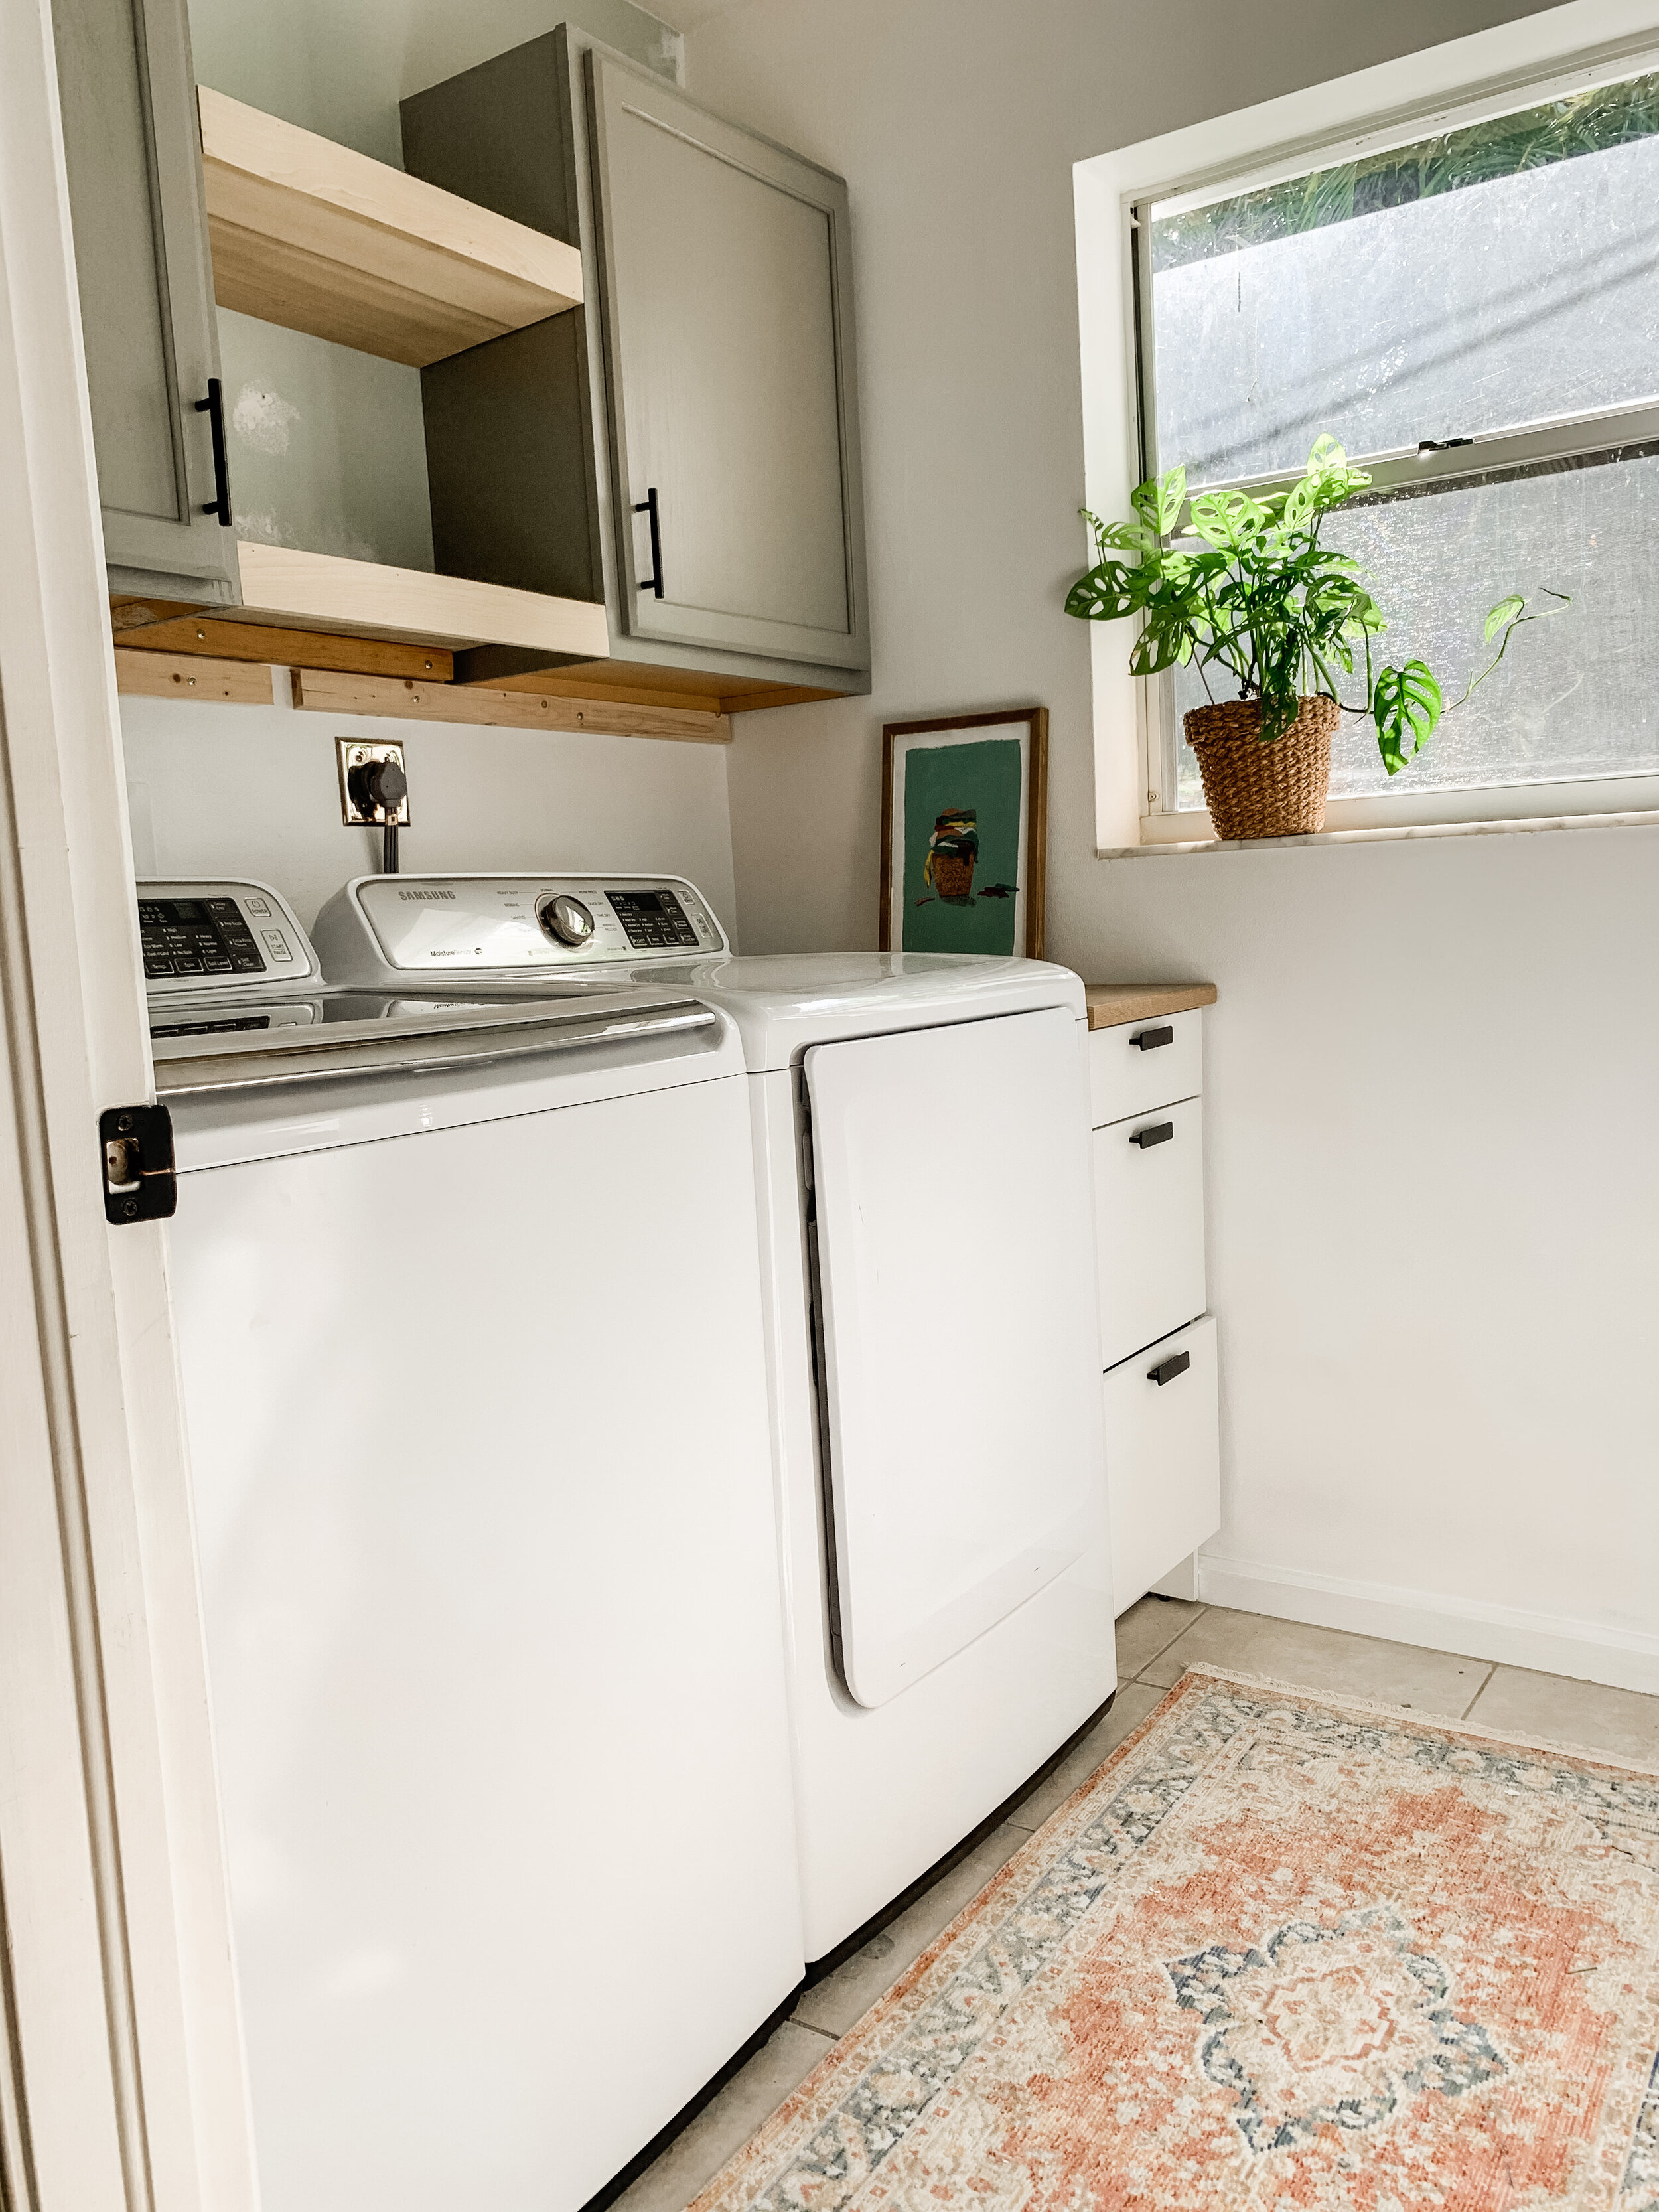
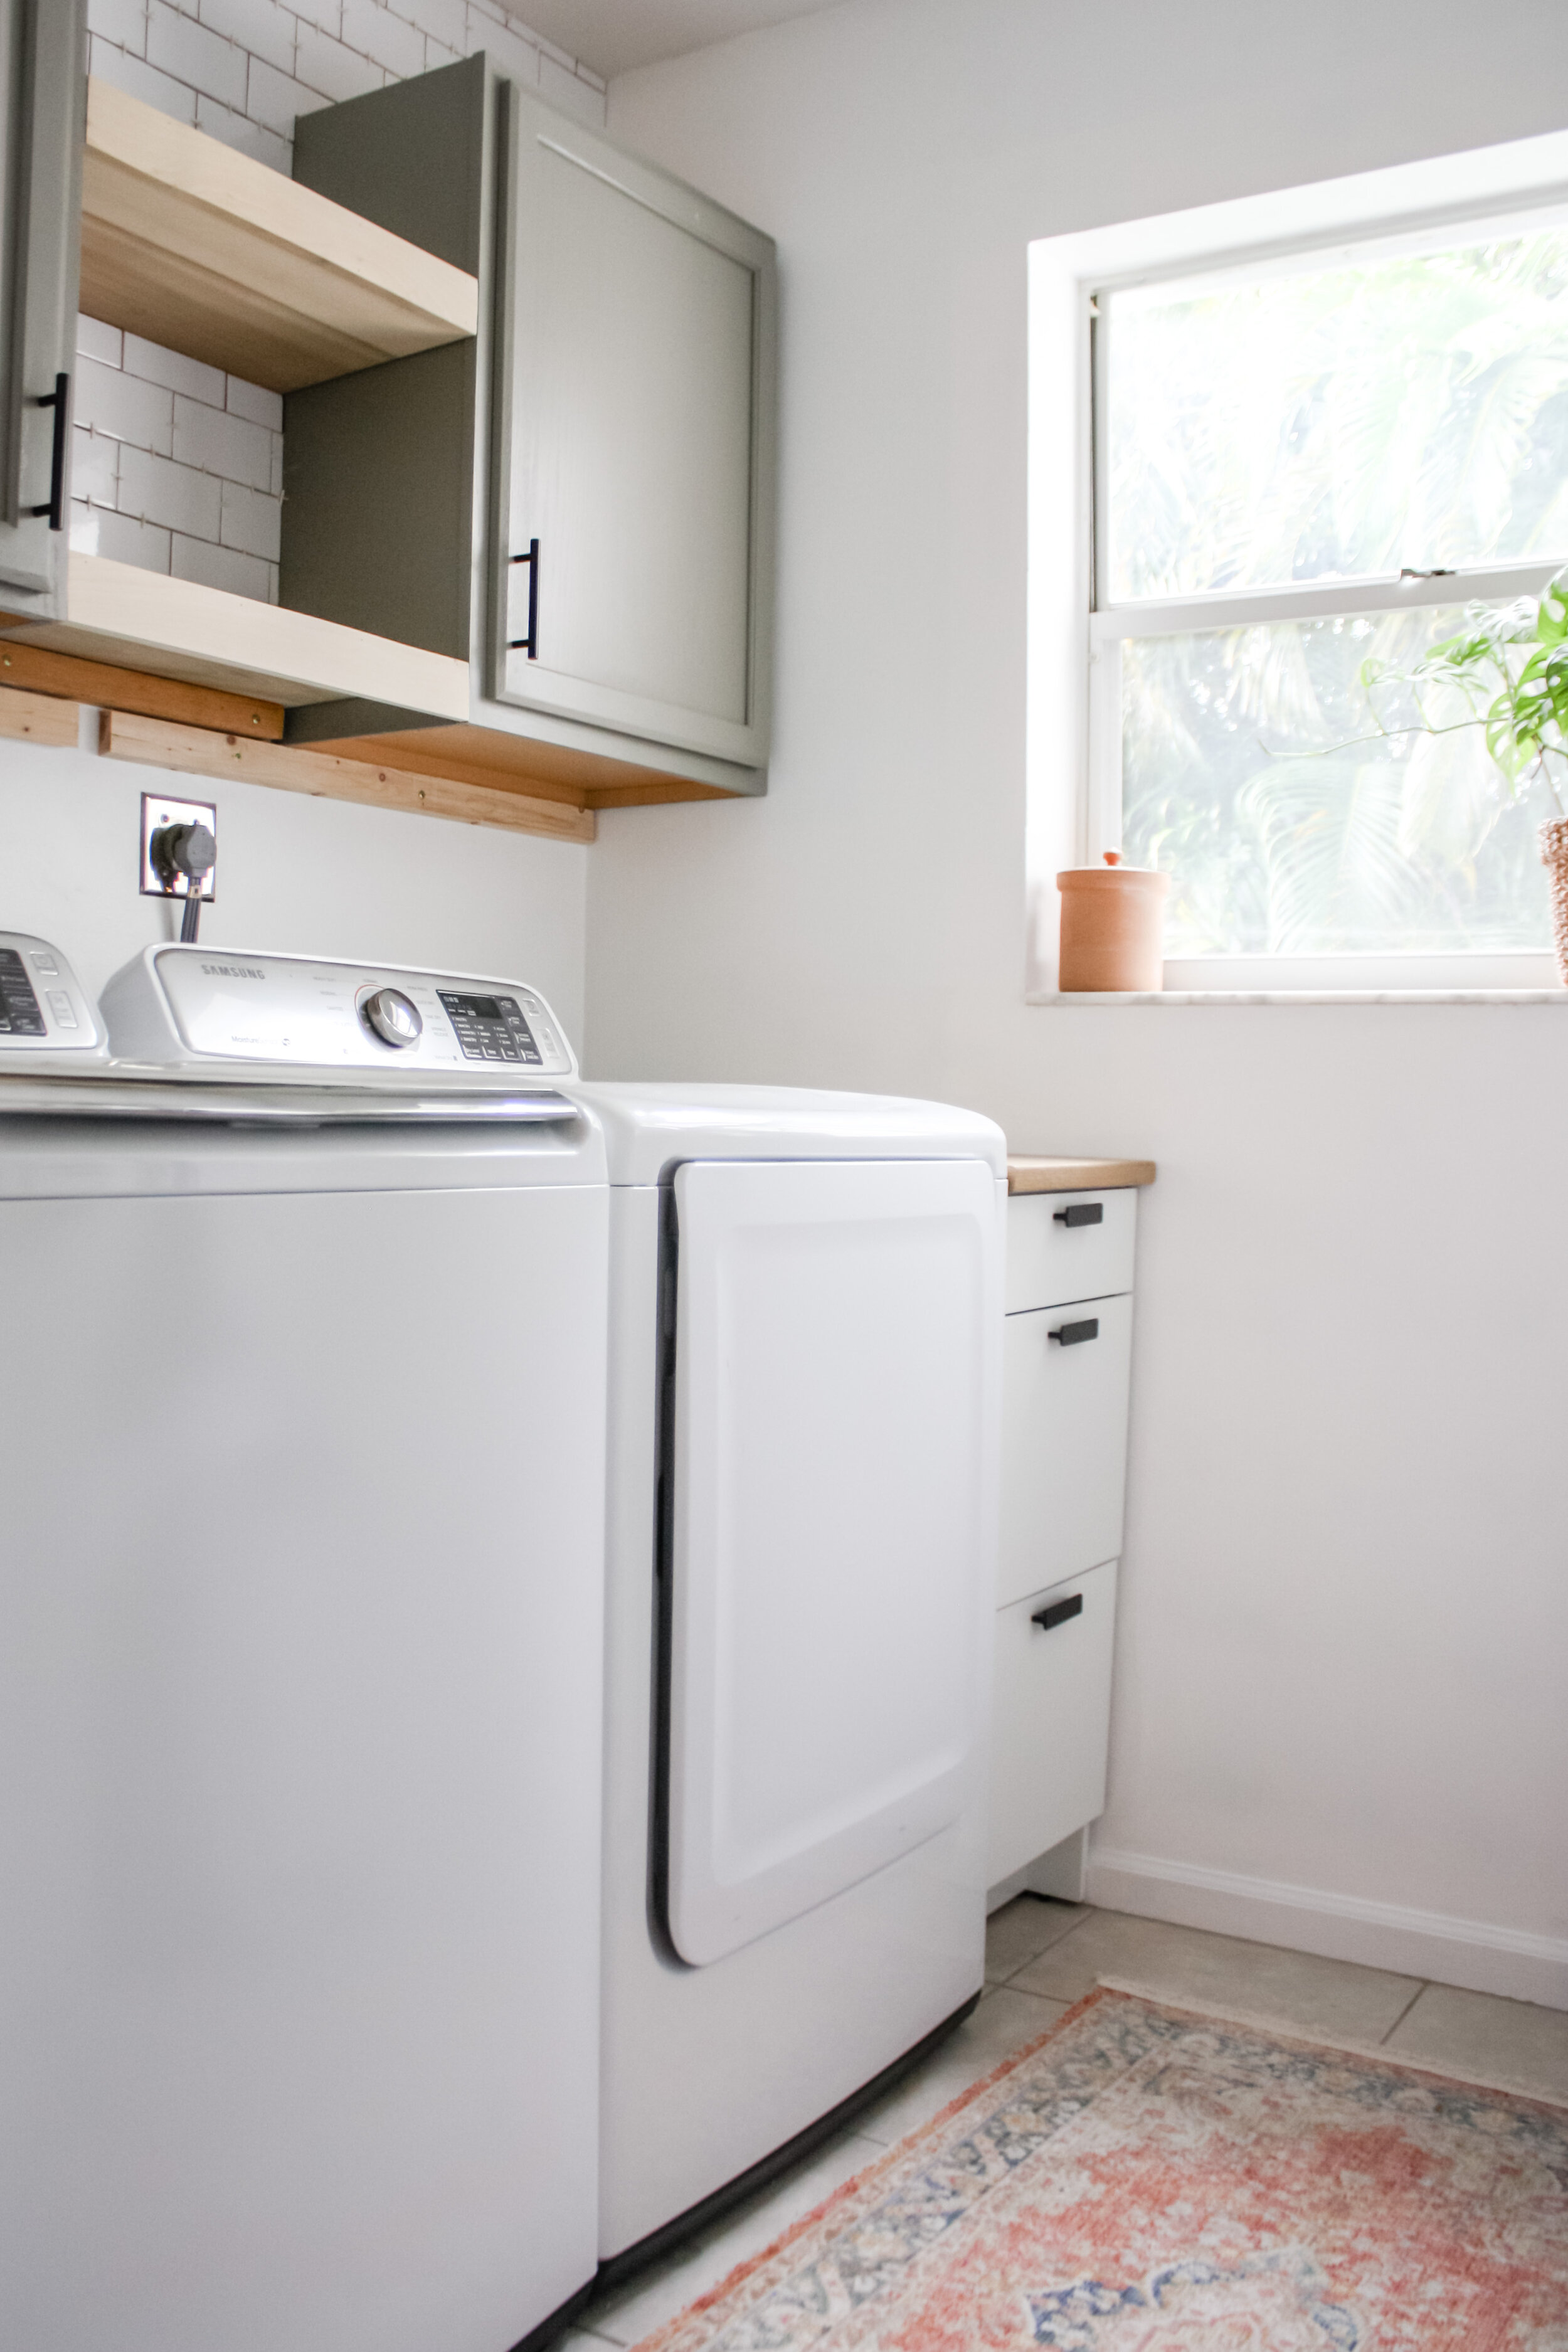
Above is the transformation from the day we installed the cabinets to the day I finished the tile. It’s been stuck in this state for a few months but that ends now!
Building the floating shelves
To build the shelves we:
Cut a 1x12” piece of poplar into 4 pieces to be used as the top and bottom of each shelf. (You’ll notice on our project, we actually skipped the bottom piece of the lower shelf. We just chose to save ourselves some work since it wouldn’t be seen after the wood slats were installed).
Secured a cleat to the wall for each shelf to attach to. Measure the cleat to ensure it fits between the top and bottom pieces of the shelf snuggly so you are then able to secure them to the cleat with a nail gun. We also screwed through each piece from inside the flanking cabinets for added stability.
Measured and cut the front finishing pieces. Once they were cut to size, we used a nail gun to secure them in place.
Building the Wood Slat Panel to hide the hookups
The last big feature waiting to be completed was the slatted wood panel to hide the laundry hookups. I wrote a whole blog post of how to built it since I’ve gotten so many questions about it.
I couldn’t be happier with the transformation. If you need me, I’ll be washing as many clothes as I can get my hands on. Sources are below!


